You are drawn to the aesthetic illusion of jewelry attached to the skin and decided to have dermal piercing. Of course, you would want to be well-informed about this whole thing before you push through with it; from the procedure, aftercare to choosing the right piercer.
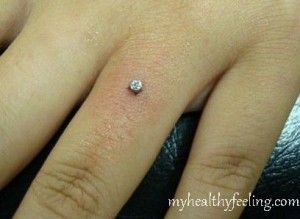
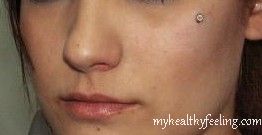
Like tattoo, body piercing the newest and hottest trend these days which allows you to express yourself uniquely. Dermal piercing is one type of skin piercing that gives room for jewelry to create an aesthetic illusion of sitting right on the skin surface. What make this piercing so popular is that it is just the simplest form of body piercing, while the jewelries used are very small and can be placed anywhere on the body such as the neck, eye, wrist, face, lower back, finger, chest and ear. Moreover, removing the jewelry is very easy without side effects and only minimal scarring.
Dermal Piercing Procedure
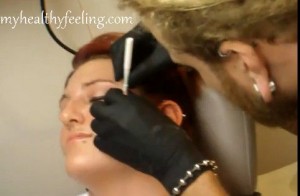
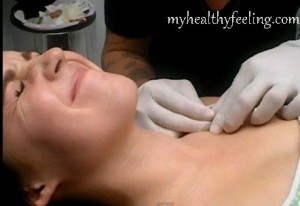
Although this is the simplest piercing method, accuracy and care are highly needed. The piercing begins with sanitizing the area you want to pierce using alcohol-based agent to keep it free from impurities. Shaving may be necessary if the desired piercing location is hairy such as the wrist and chest.
Using a surgical marker, the piercer will mark the area to be pierced with two spots indicating the needle’s entry and exit points. After which, the piercer will make a hole onto the surface of skin using a sterilized surgical needle on the marked entry and exit points starting at the superficial skin layer and reaching all the way to the muscle layer. The end of the dermal anchor or jewelry is then inserted and upon the healing of the tissue, the base of dermal anchor is put in place.
Dermal Piercing Recovery
Recovery differs from person to person. It may take up to two months for tissues to fully recover though the pierced area heals within several weeks from piercing. The pierced area must be protected to avoid infections. So you have to clean it two times a day with salt solution.
Just mix half teaspoon of salt into one glass of water, dampen a cotton ball and wash it gently on the perforated area for 5 minutes. Make sure that your hands are clean when cleaning the pierced area and use mild soap when bathing to prevent irritating it. Of course, you should incorporate this will a healthy and balance diet.
Microdermal Piercing
Do not just settle for any piercer out there. Choose a reputable piercer and go through some pictures of their microdermal piercing jobs. Aside from beautiful artistic creation, you want to make sure that you are in good hands once the piercing is done. Besides, the right piercer will help you choose the right jewelry that will look good for your microdermal piercing location.
Have your piercing on the area where that is not exposed to constant movement where the piercing will most likely be rejected. And if you’re planning to change piercing jewelry, allow the perforated area to completely heal first.
With dermal piercing, you are making a personal statement that sets you apart from the crowd.


